Help your clients find the right training program for them by creating filters for your fitness programs!
Before jumping into it, check out this article for how to build out a multi-day program if you have not already.
After creating programs, you can create filters for them so that clients can see only training programs that fit their needs.
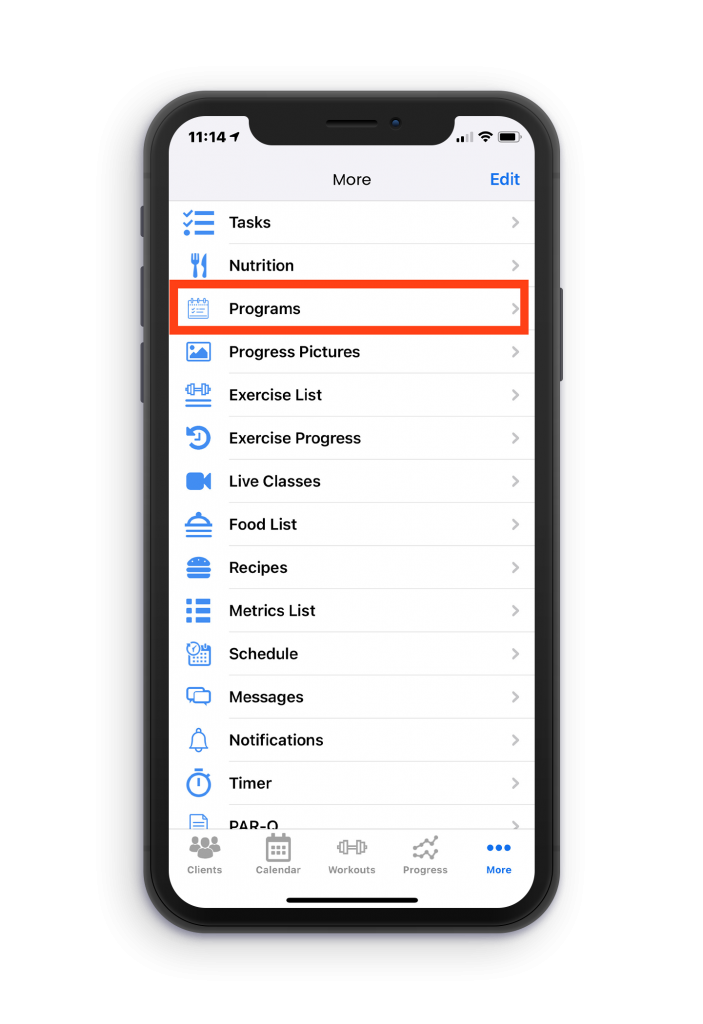
To create a filter for programs on iOS, first, navigate to the programs option from the More menu.
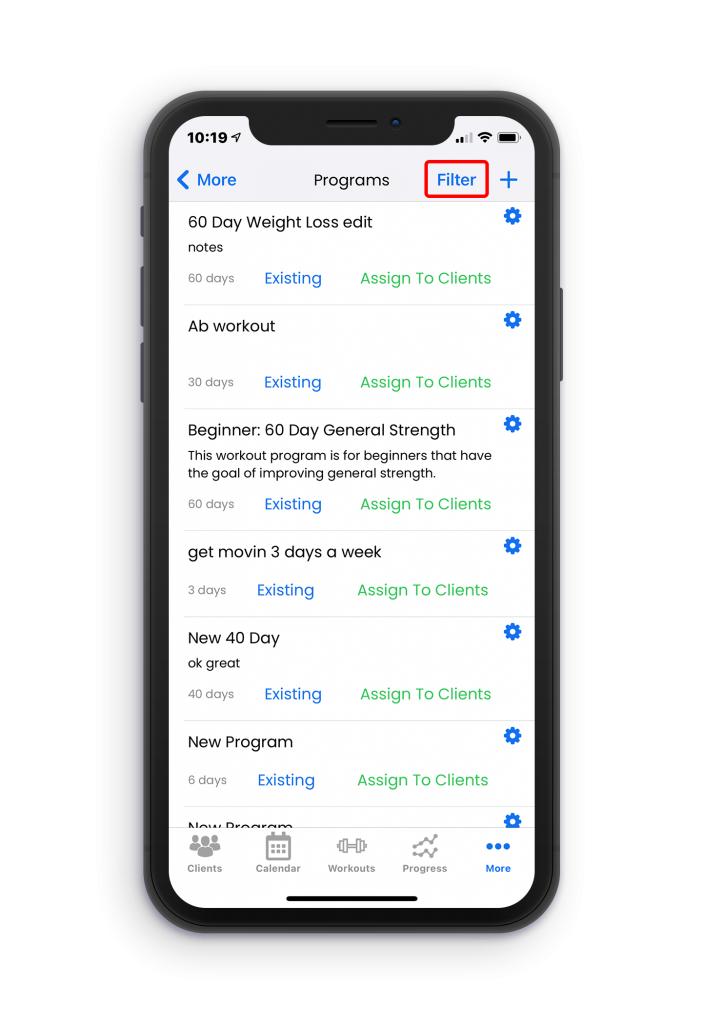
Then, click on the Filter button in the top right corner of the screen.
After clicking on filters, you will have the option to Edit them in the top right corner.
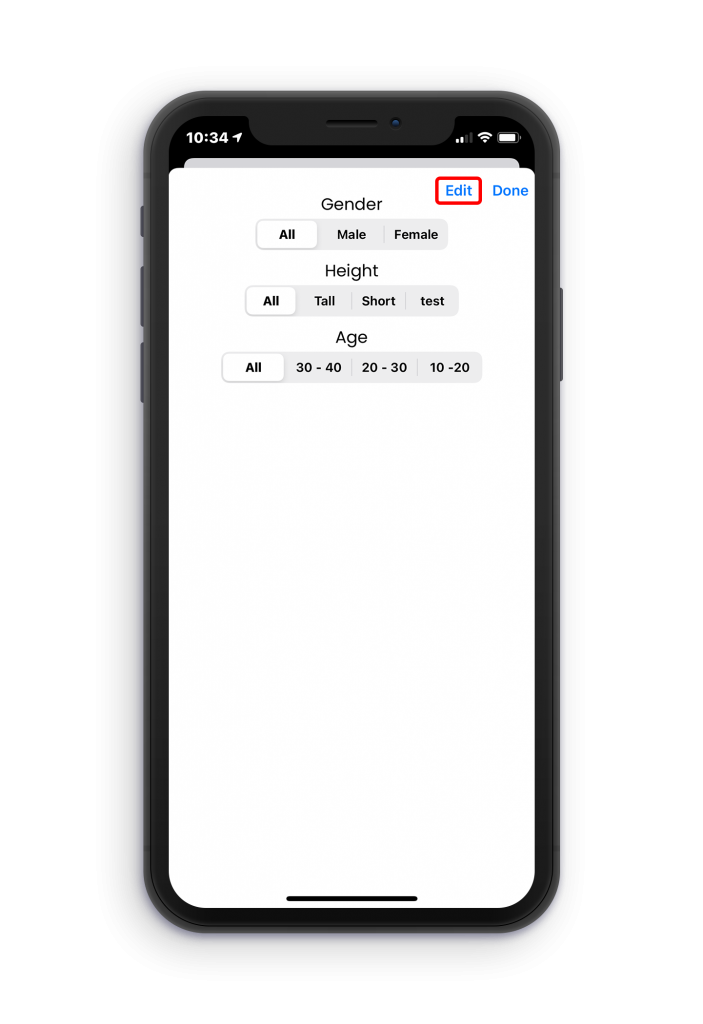
Once you click edit, the category editor will appear where you can add a new category and then the subsequent options that your clients will need to choose from for each category. As shown in the example below, the client will have the options to choose between male, female, or skip the question for the gender category.
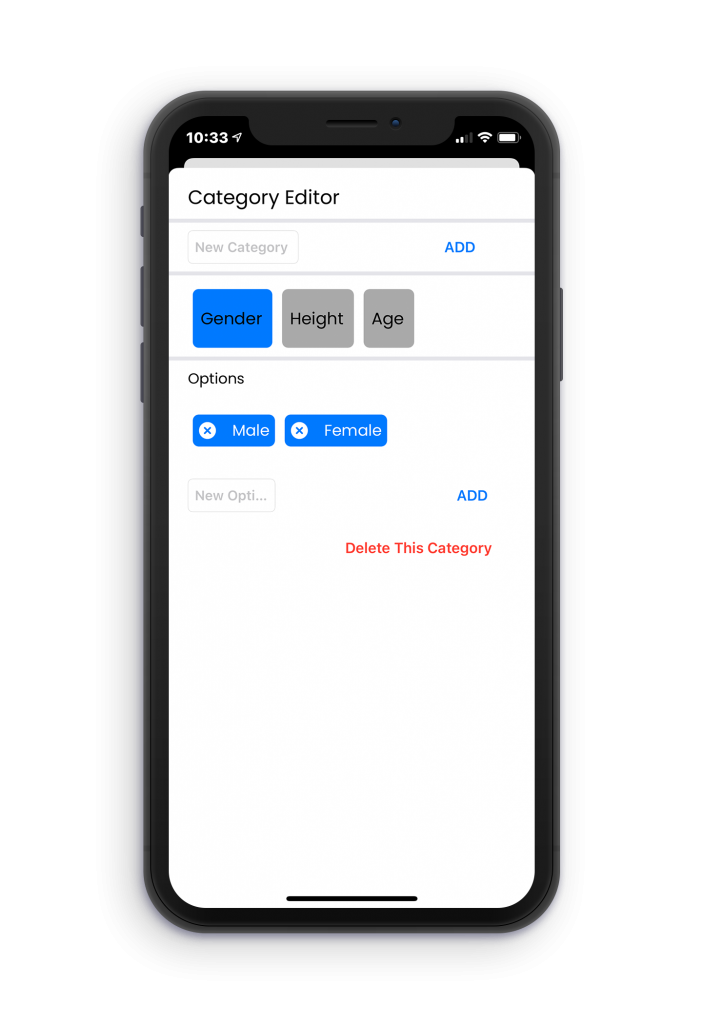
The categories will be shown in the form of screening questions that can be skipped by the client.
Now you probably want to know how to apply filters to a specific program? Applying filters allows for them to appear in the client’s list of program options to enroll in when they answer the screening questions.
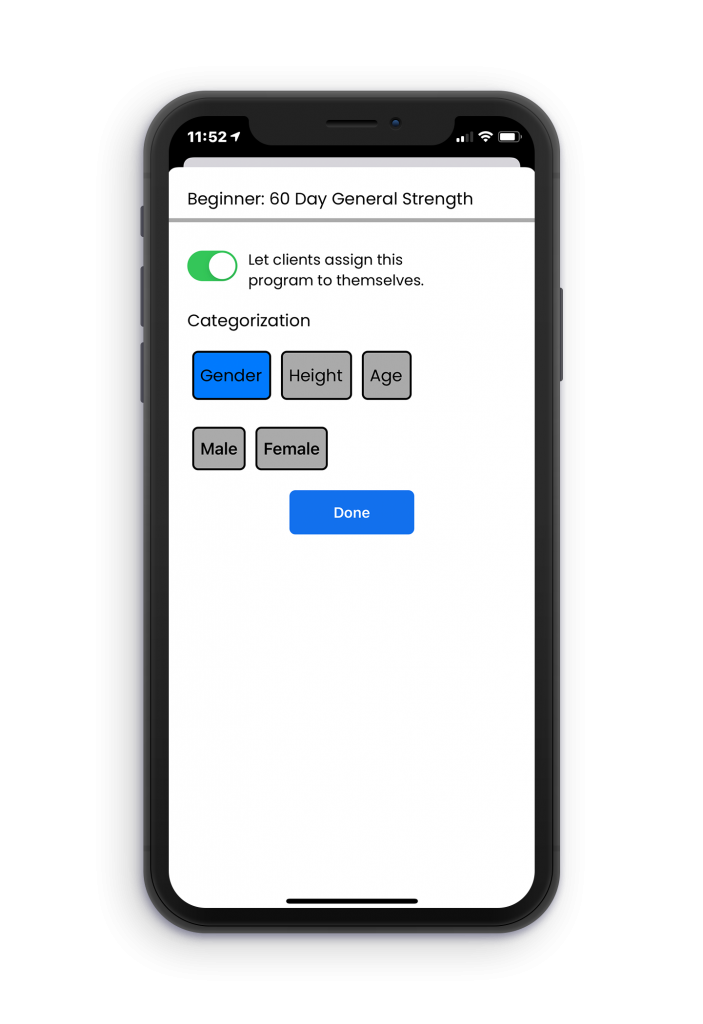
When looking at the program list, click on the blue gear icon next to the program you want to apply the filters to. Then, you will have the option of allowing clients to enroll in the program for themselves. Below that, just tap on the category filters and the category options you want to apply to the program. For example, if you only want the 60 Day General Strength to apply to females, then click on gender and females. After choosing the options you want to apply, hit Done!
