This is step 2 (#2) for creating a profile for your iOS custom app!
1) Go to https://developer.apple.com/
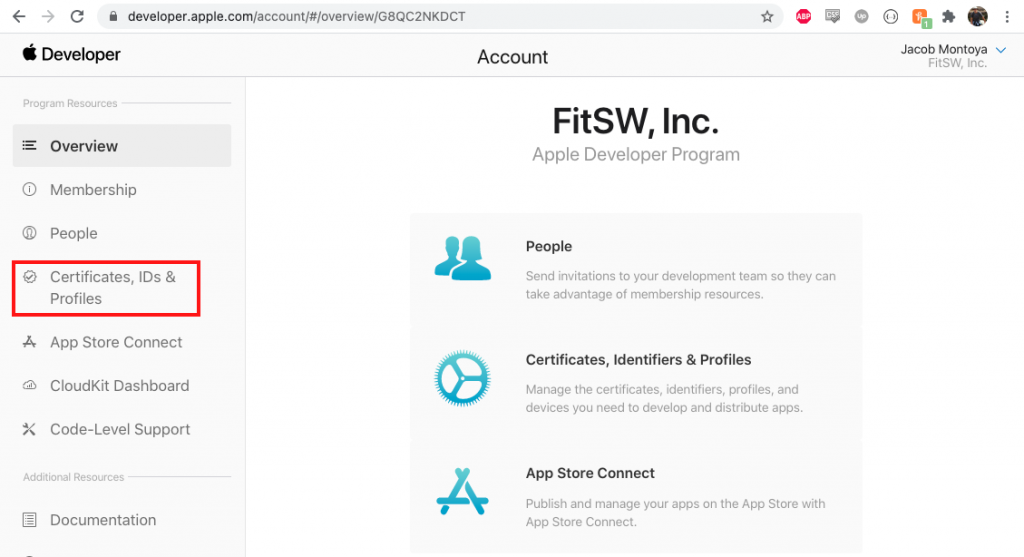
2) Click “Account“

3) Click Certificate, ID’s, & Profiles on the left side of your screen.
______________________________________________________________________________
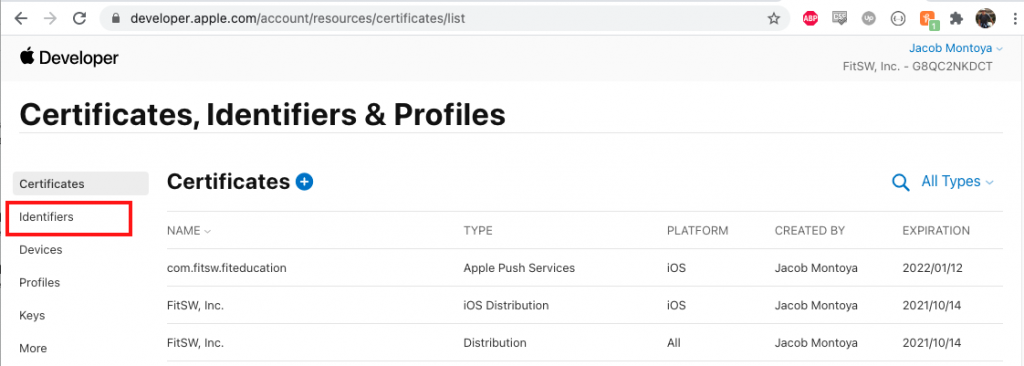
4) Click Identifiers
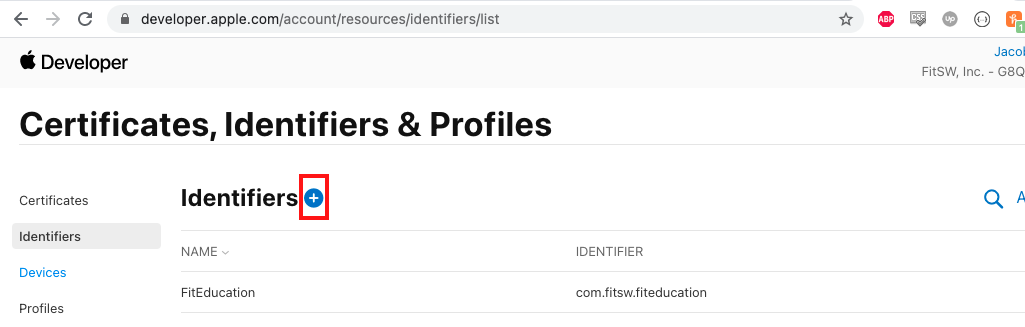
5) Click the little plus next to Identifiers
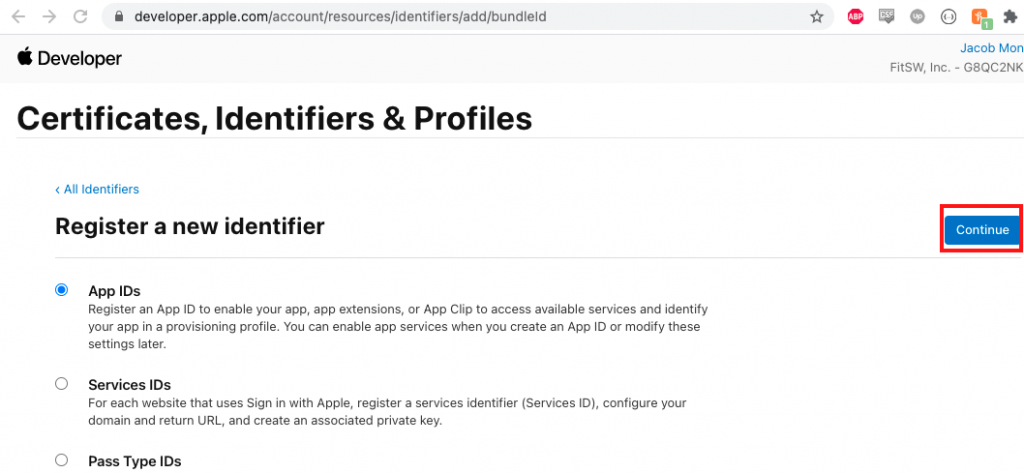
6) Ensure App ID is selected and then hit Continue
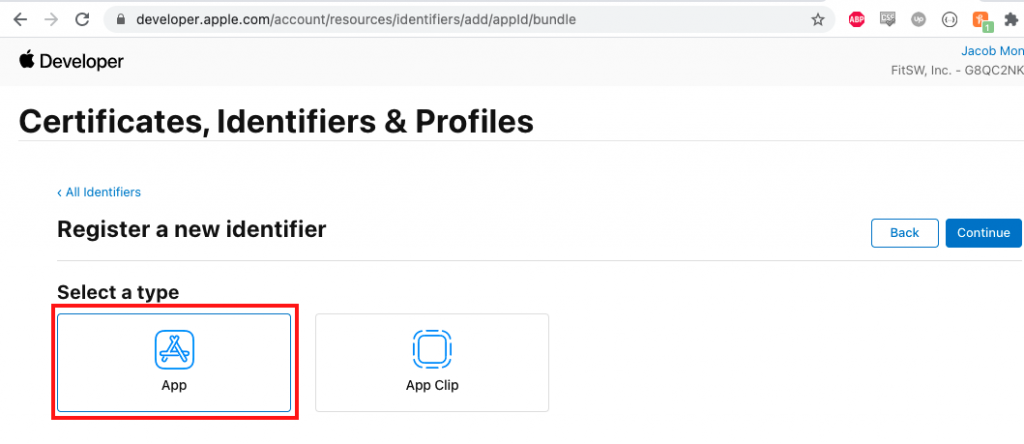
7) Select App and then hit Continue
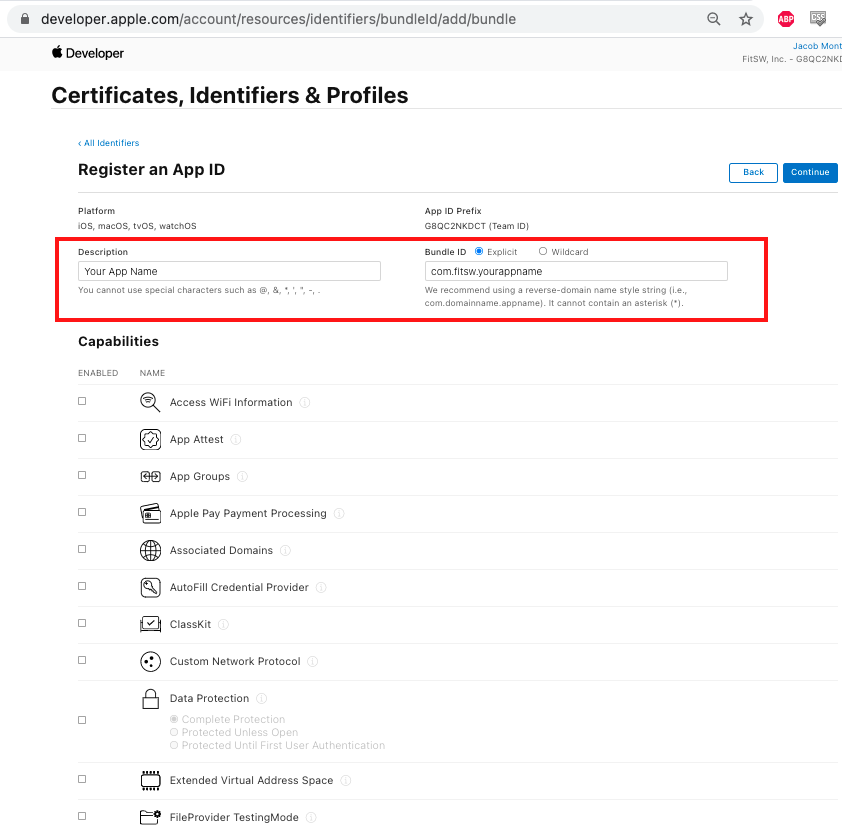
8) Fill in Your App Name for Description and then Bundle ID (com.fitsw.[your business name]): This portion MUST be lower case and without spaces. Leave all checkboxes as is and click Continue.
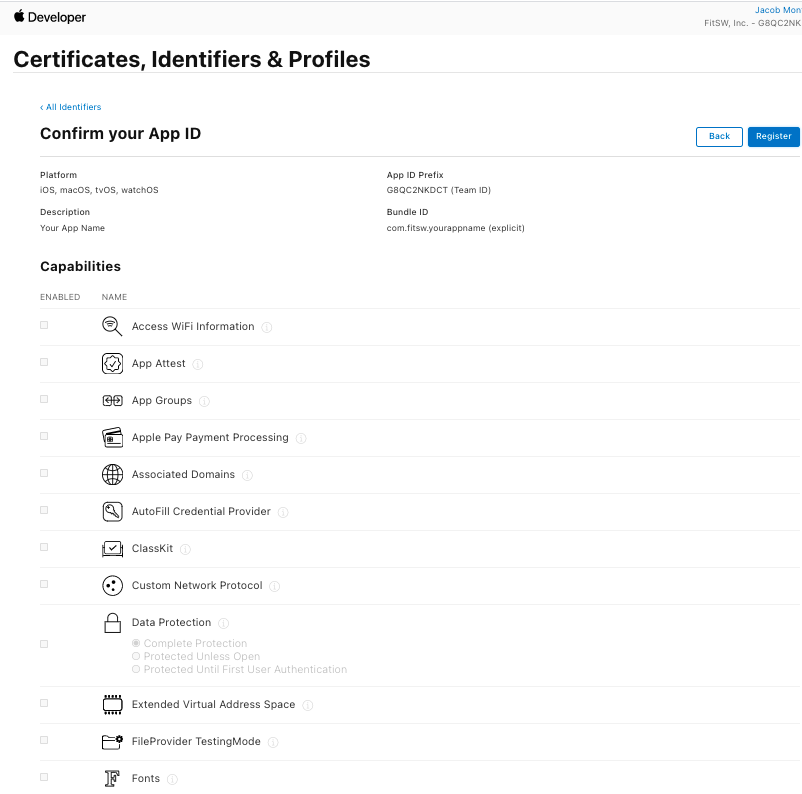
9) A confirmation page will appear (see image below) – Click “Register“
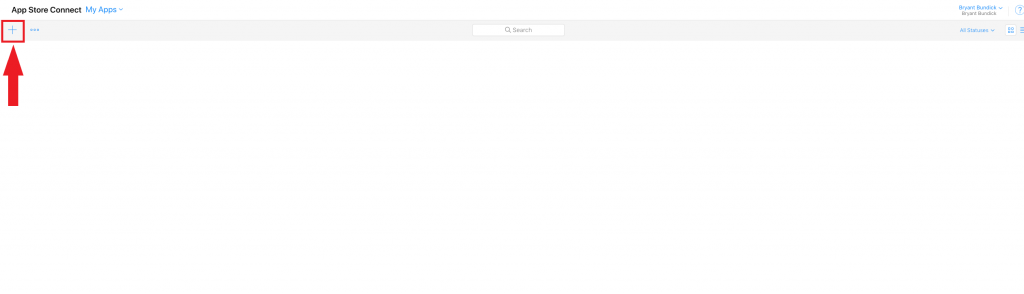
10) Return to App Store Connect
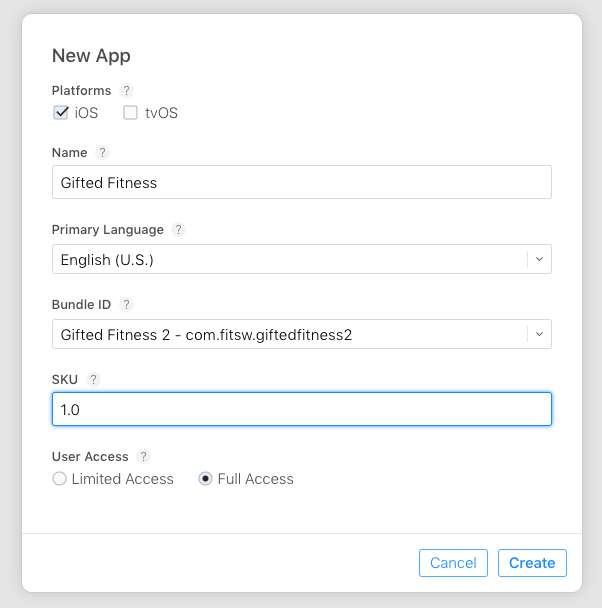
11) Click + in top left (see image below)
12) Check iOS – Type in your desired name, choose a language.
13) Choose Bundle ID that you just created (SKU = 1.0)
14) Click Full Access
15) Click Create
______________________________________________________________________________
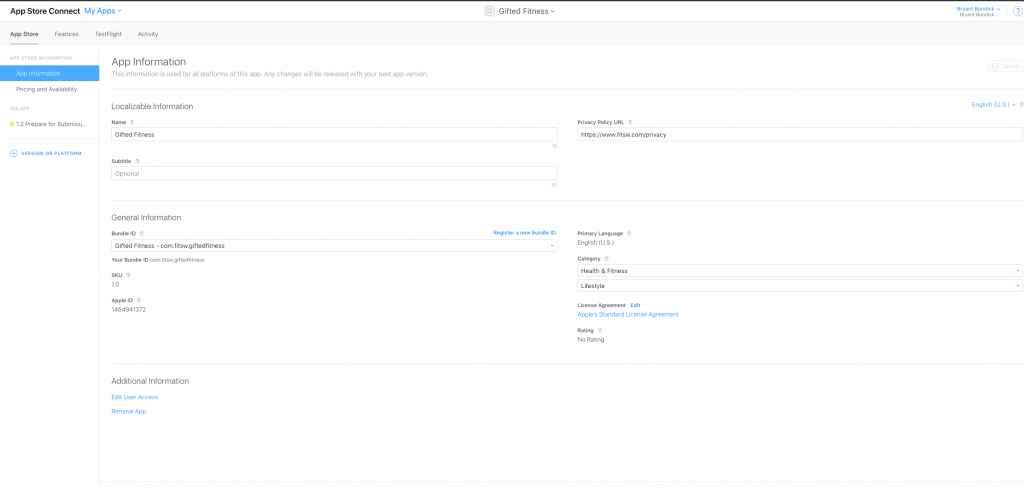
16) Then, click the app and fill in your preferred App Name and Subtitle
17) Fill in your privacy policy URL. If you don’t have a privacy policy, you can use FitSW’s privacy policy: https://www.fitsw.com/privacy
18) Set the categories you wish your app to be under
19) Click Save
______________________________________________________________________________
20) On the left side, under iOS Apps click the item that says “1.0 Prepare for Submission”
21) Fill in what you would like for Description, Keywords, Support URL, and Marketing URL. You can use your webpage as your support URL and Marketing URL. If you do not have a webpage, you can use https://www.fitsw.com/support for support and https://www.fitsw.com for marketing.
22) FitSW will take care of filling in the rest of the information!
It’s really cool that you can do this, but what is the fee for this service?
Check out this page while logged into your account for pricing:
https://www.fitsw.com/upgradeCustom/