This is step one (#1) for the custom iOS process.
To set up an apple developer ID to get your own custom app, start out by clicking on the following link: https://developer.apple.com/enroll/
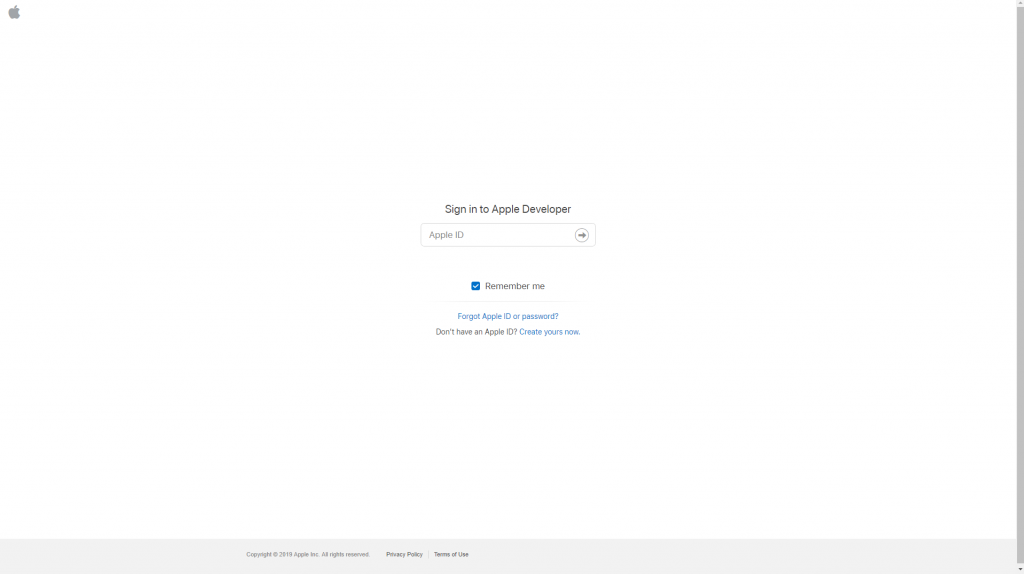
You will be redirected to a screen titled Sign in to Apple Developer. Enter your Apple ID and click the arrow to continue. (See image below.)
You will then be asked to verify your identity. Enter the verification code that you receive either in your email or through your phone (will be a 6 digit code).
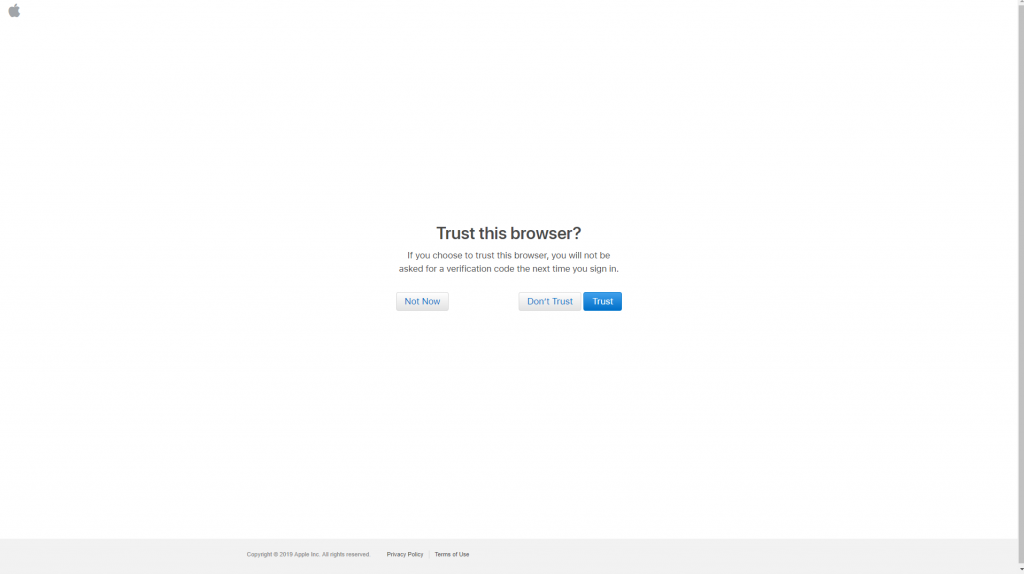
After this, you will be redirected to a screen that is titled Trust this browser. You can choose any option, as this is only about whether or not you will receive a verification code next time you log in. (See image below.)
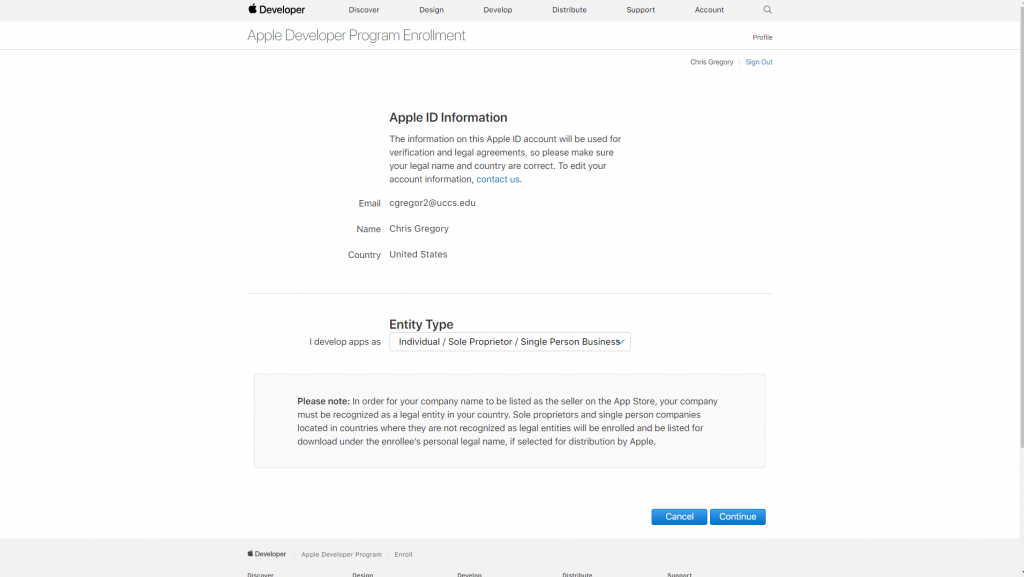
After this, you will need to choose your Entity Type. If you are a corporation or an LLC, select “Company / Organization”. Otherwise, select “Individual / Sole Proprietor / Single Person Business” or one of the other options. Once you have chosen your entity type, click continue. (See image below.)
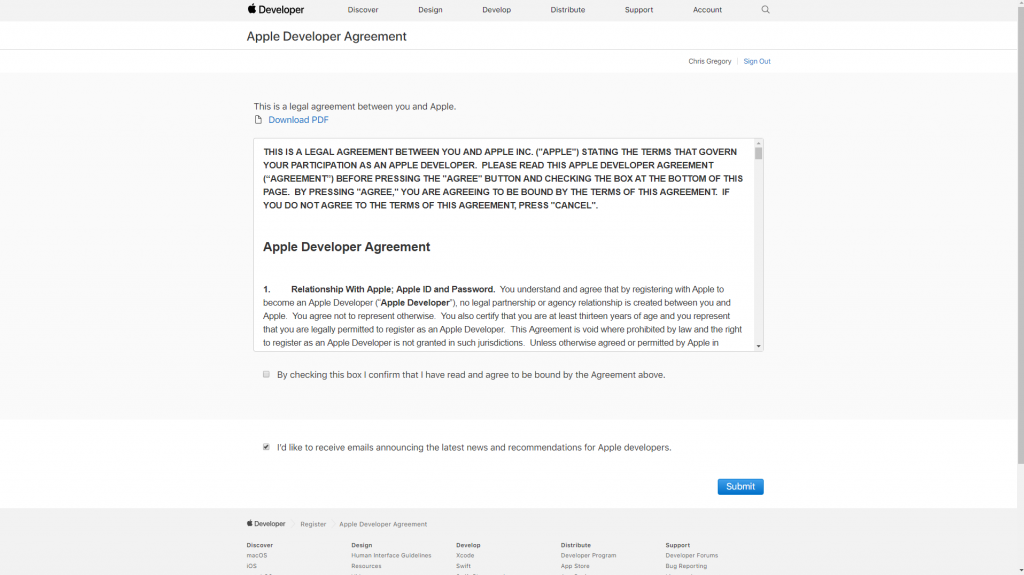
You will then be asked to read and accept the Apple Developer Agreement. Check the box that is titled By checking this box, I confirm that I have read and agree to be bound by the Agreement above. After you have done this, click Submit. (See image below.)
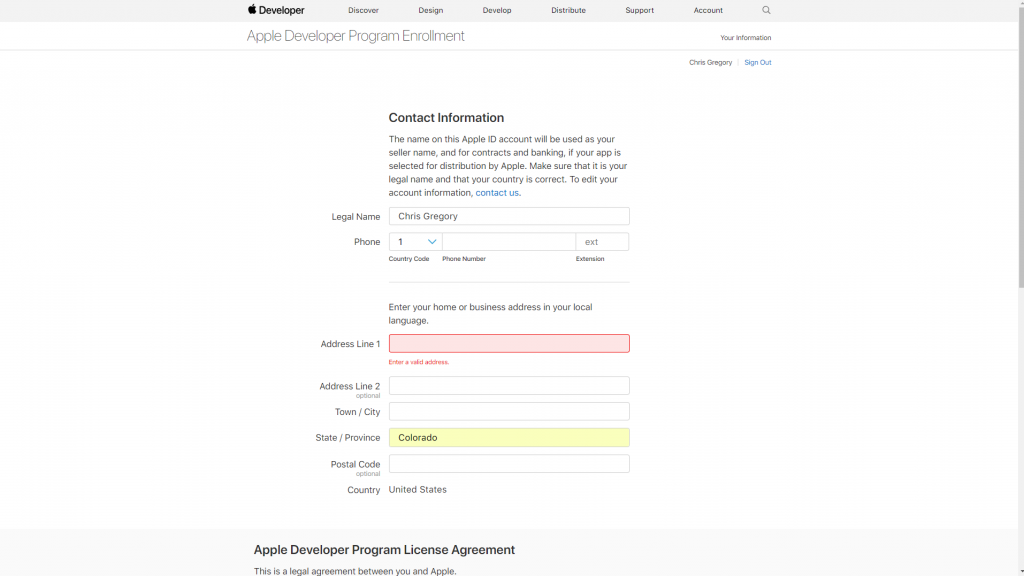
Next, you will need to enter your contact information. Fill out all of the fields to continue. (See image below.)
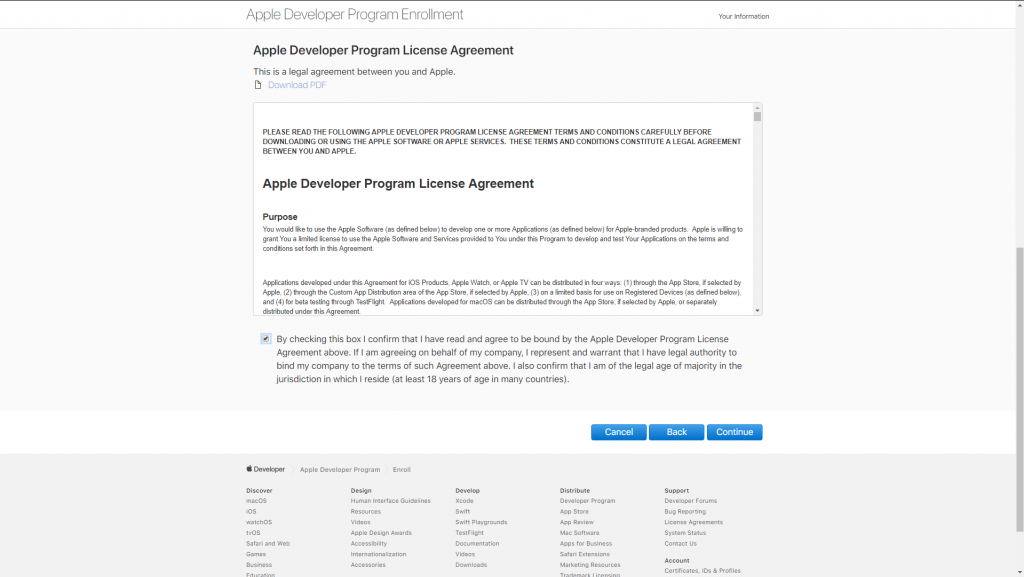
Scroll down and you will see the Apple Developer Program License Agreement. Read this agreement, then check the box confirming and accepting the agreement, and click continue. (See image below.)
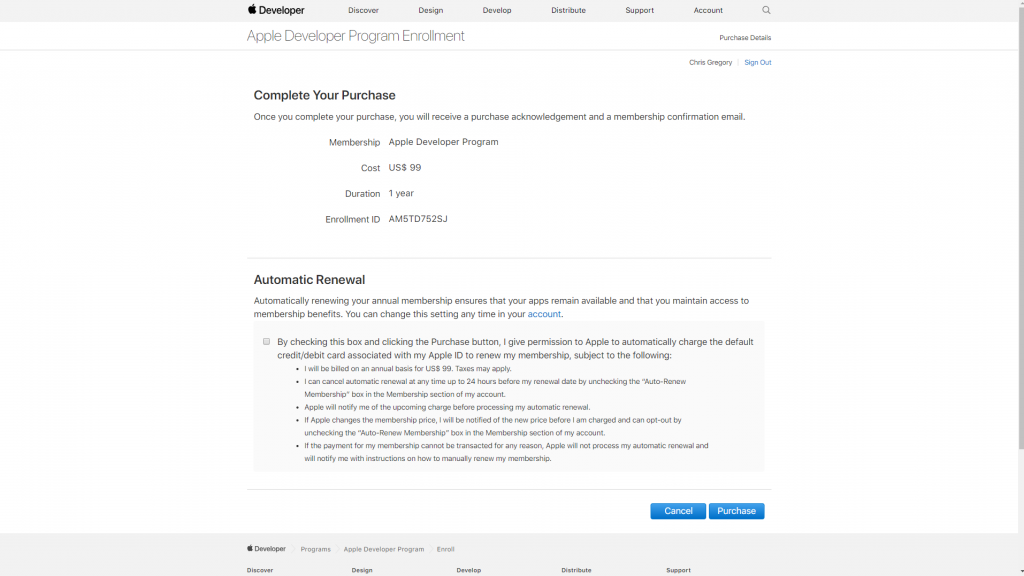
You should now be on the Complete Your Purchase screen. Check the box that says By checking this box and clicking the Purchase button, I give permission to Apple to automatically charge the default credit/debit card associated with my Apple ID to renew my membership, subject to the following. After you have checked this box, click Purchase. (See image below.)
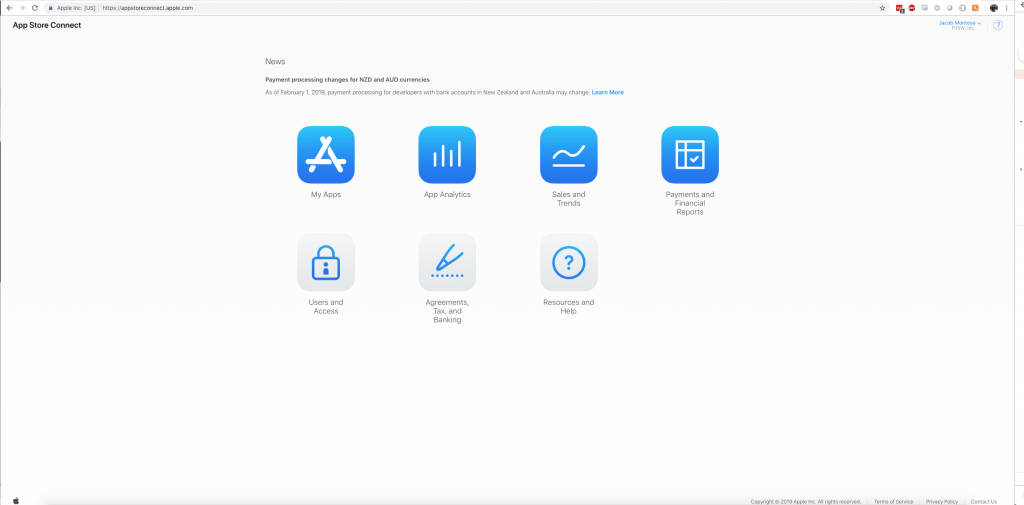
After you have done this go to: https://appstoreconnect.apple.com/. If the site requests you to login, use your Apple ID which you just created a developer account with as your login. You will now be on the App Store Connect screen. Select the option that is titled Users and Access to continue. (See image below.)
Once you are on the Users and Access screen, click the blue + sign to add a person. (See image below.)
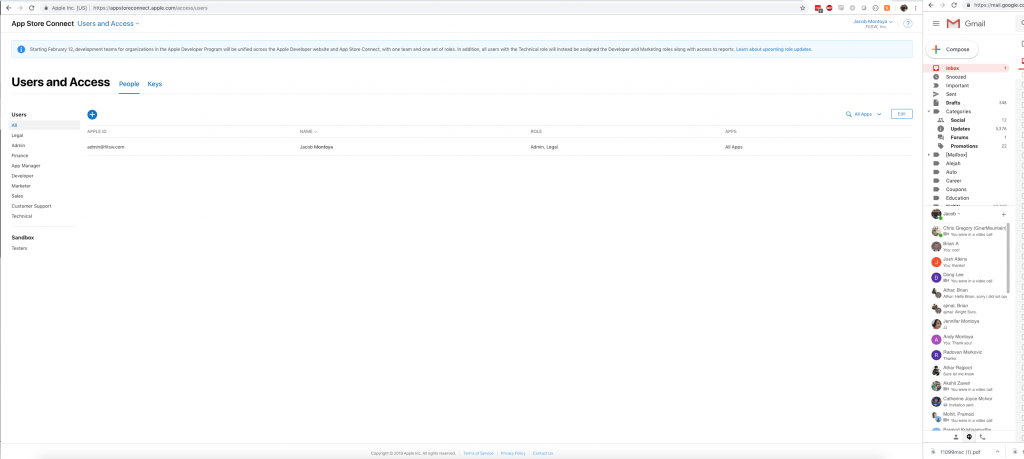
A new screen will appear titled New User. Fill in the New User’s name and Email. Next, add a new user called “admin@fitsw.com” and set them as admin. (This is how we upload the app to your account). Under “Roles”, select “Admin” which will check other items as well. Ensure that all checkboxes are checked under Additional Resources including “Access to Cloud Managed Developer ID Certificate”. Once this is completed, click the blue Invite button. (See image below.)
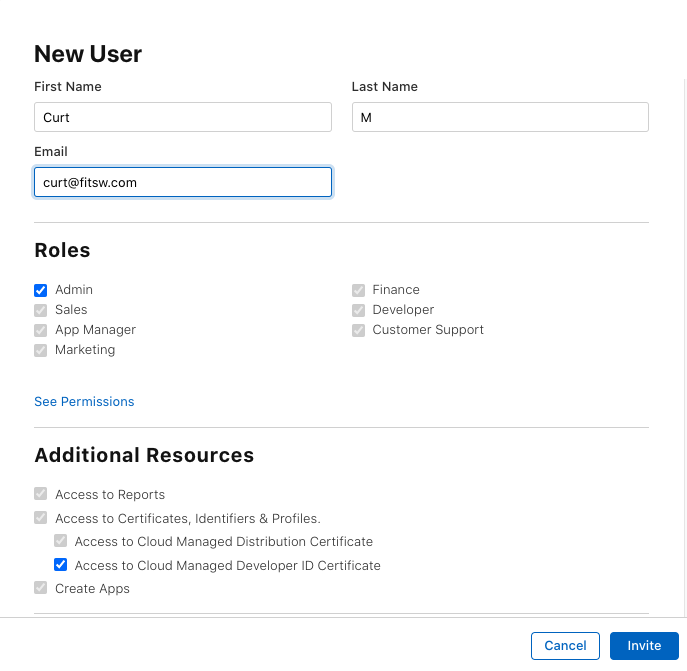
Also, add a new user called “curt@fitsw.com” and set them as admin. (This is how we upload the app to your account). Under “Roles”, select “Admin” which will check other items as well. Ensure that all checkboxes are checked under Additional Resources including “Access to Cloud Managed Developer ID Certificate”. Once this is completed, click the blue Invite button. (See image above.)
